【详解】Yii创建yii第一个应用和使用GII生成增删改查功能
jerry Yii 2015年08月11日
收藏
打开CMD进入目录
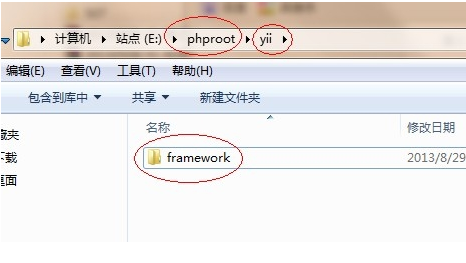
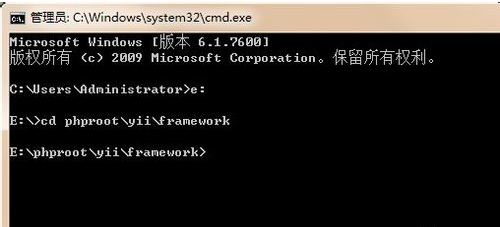
新建webapp,在framework目录下执行:
- yiic webapp ..\test
然后输入yes即可。

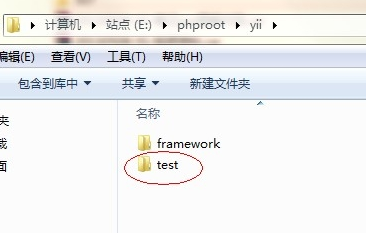
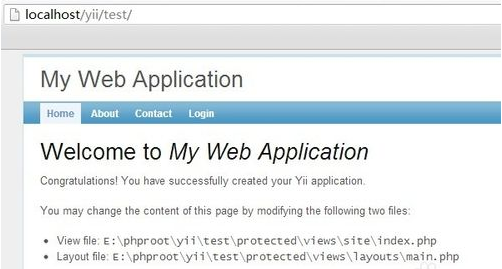
在protected\config\main.php中,修改数据库连接 ‘db’
因为使用mysql数据库,所以修改如下:
- /* 'db'=>array(
- 'connectionString' => 'sqlite:'.dirname(__FILE__).'/../data/testdrive.db',
- ),*/
- // uncomment the following to use a MySQL database
- 'db'=>array(
- 'connectionString' => 'mysql:host=localhost;dbname=dmpushtest',
- 'emulatePrepare' => true,
- 'username' => 'root',
- 'password' => '',
- 'charset' => 'utf8',
- ),
mysql:host=localhost ---为本地数据库
dbname=dmpushtest ---为数据库名
username -- 数据库登陆的用户名
password -- 数据库登陆的密码
在dmpushtest库中建表
- CREATE TABLE IF NOT EXISTS `user` (
- `id` int(10) NOT NULL auto_increment,
- `username` varchar(128) NOT NULL,
- `password` varchar(128) NOT NULL,
- `email` varchar(128) NOT NULL,
- PRIMARY KEY (`id`)
- ) ENGINE=InnoDB DEFAULT CHARSET=utf8 AUTO_INCREMENT=1;
配置Gii,需要编辑文件 WebRoot/testdrive/protected/main.php
- 'modules'=>array(
- // uncomment the following to enable the Gii tool
- 'gii'=>array(
- 'class'=>'system.gii.GiiModule',
- 'password'=>'*********',
- // If removed, Gii defaults to localhost only. Edit carefully to taste.
- 'ipFilters'=>array('127.0.0.1','::1'),
- ),
- ),
password --设置gii登陆密码
提示输入密码,登陆
- http://127.0.0.1/mimscmgr/index.php?r=gii
进入ModelGenerator,如果提示超时。
修改
- php.ini:max_execution_time = 300
再次进入Model Generator --> preview -->generate,生成User模型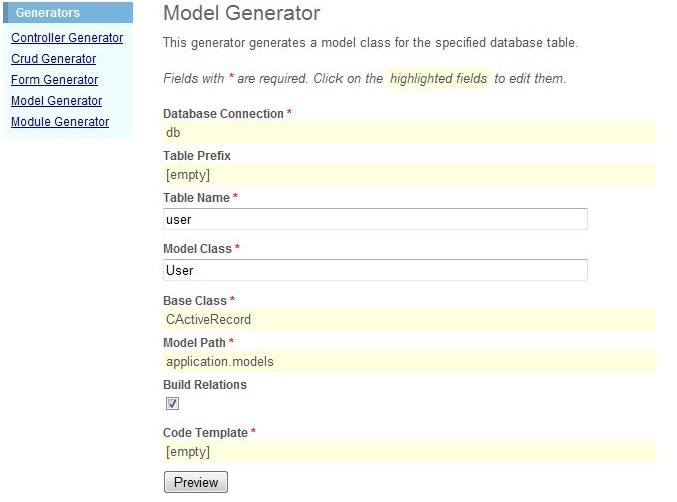
一个名为 User.php 将生成到protected/models 目录中,网页也就和数据库表关联上。
进入Crud Generator --> preview -->generate,生成CRUD 代码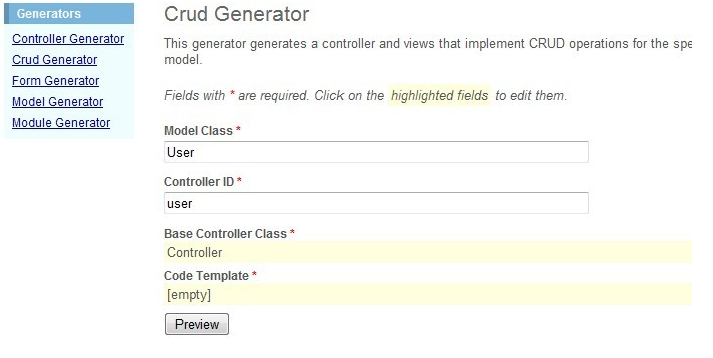
至此CRUD 代码生成完成。
查看效果:
- http://127.0.0.1/mimscmgr/index.php?r=user
- 没有章节


